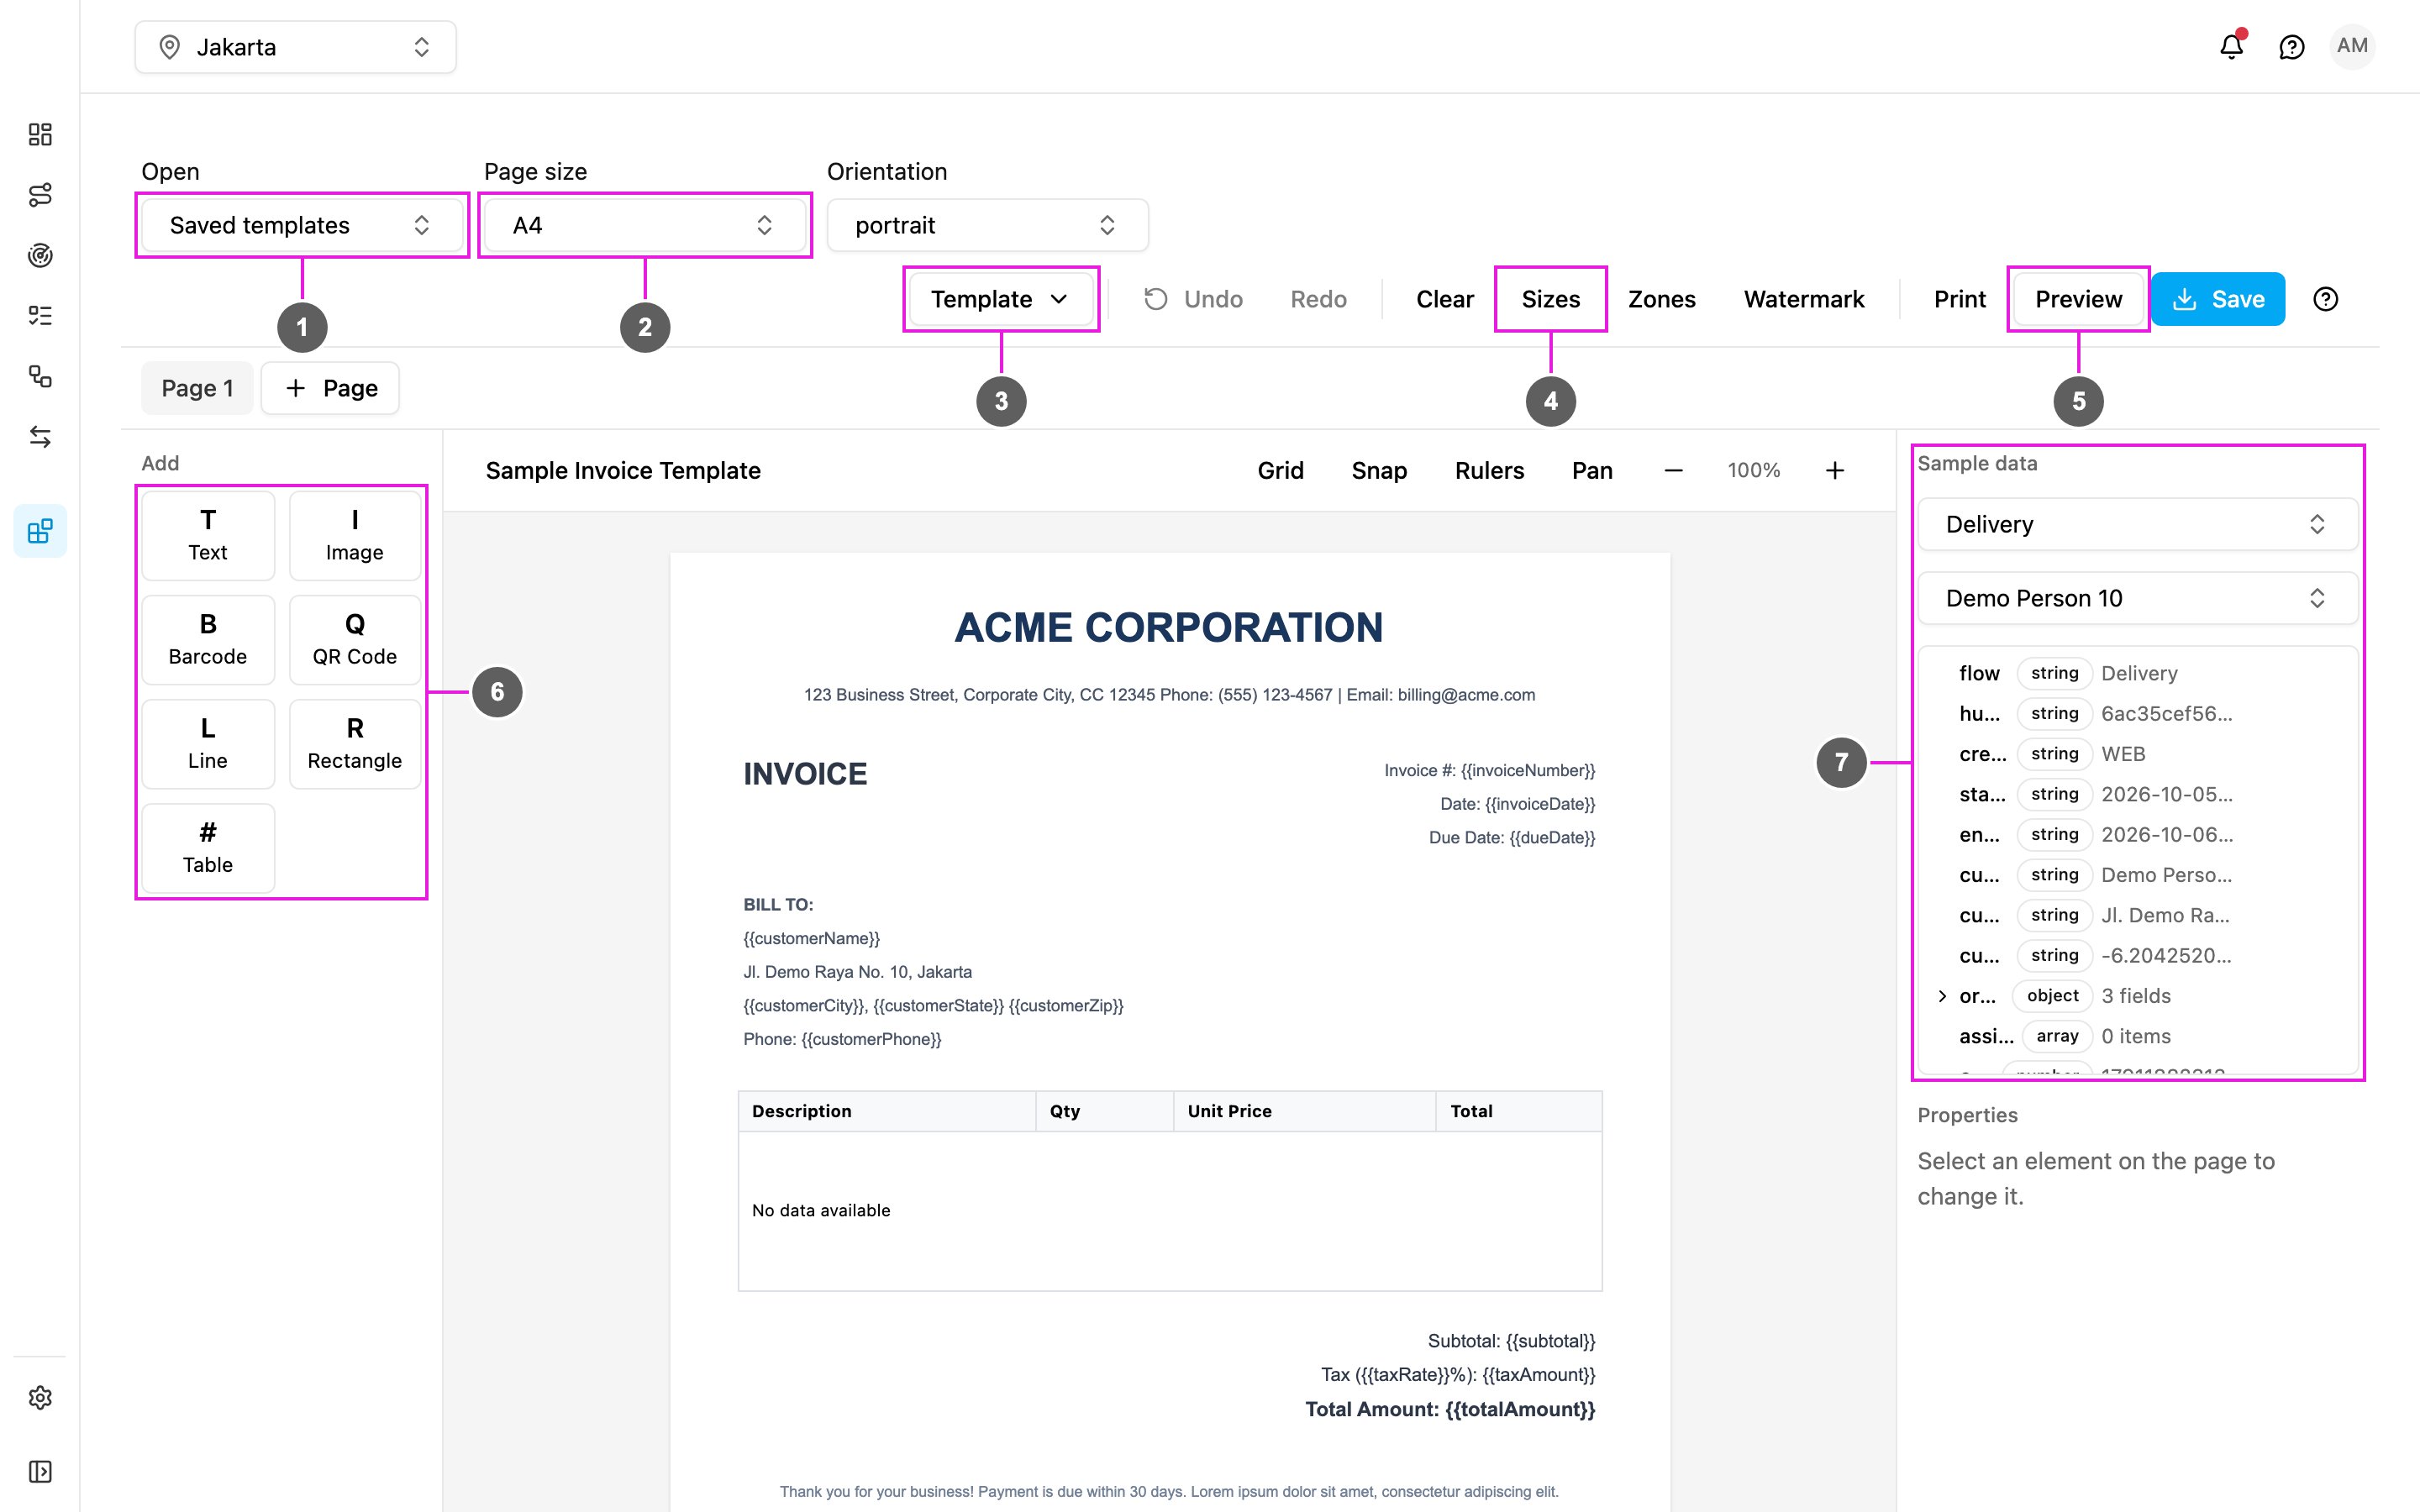
- Open: load one of your saved templates.
- Page size and orientation of the template.
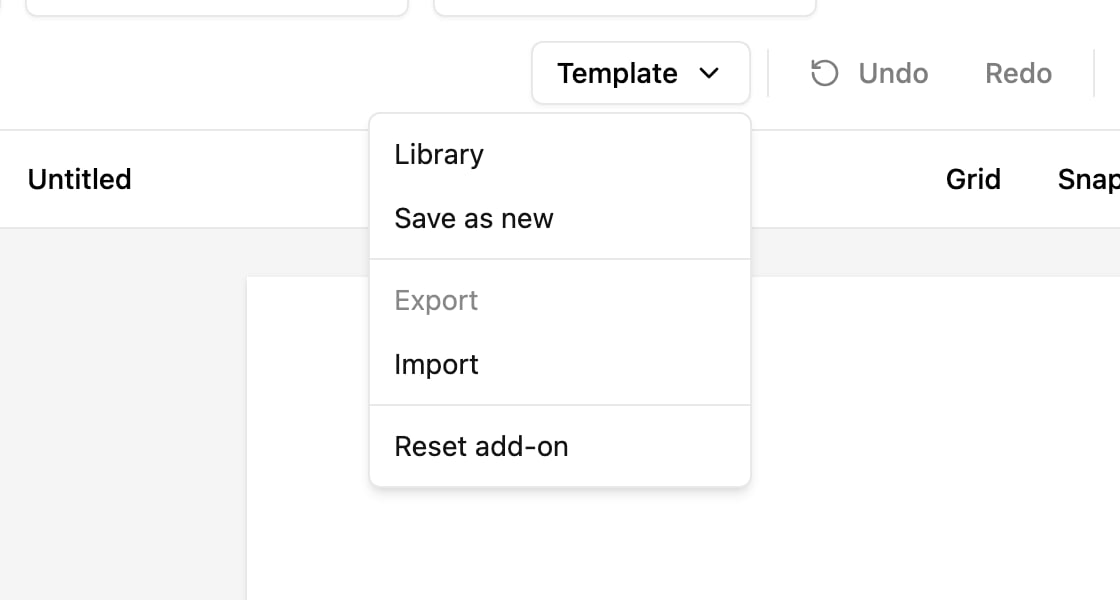
- Template menu: Library, Save as new, Export, Import and Reset add-on.
- Sizes, Zones and Watermark: custom page sizes, header and footer bands, and the watermark. Beside them are Undo, Redo and Clear.
- Print, Preview and Save.
- Add: the seven element types.
- Sample data: pick a flow and a task, so bound elements show real values and the task’s fields can be browsed.
Elements
Click an element type under Add to place it on the page.
Each barcode format checks its value: EAN13 needs 12–13 digits, EAN8 7–8, UPC 11–12, ITF14 13–14; CODE39 accepts A–Z, 0–9 and
- . $ / + % and space.
Selecting and editing elements
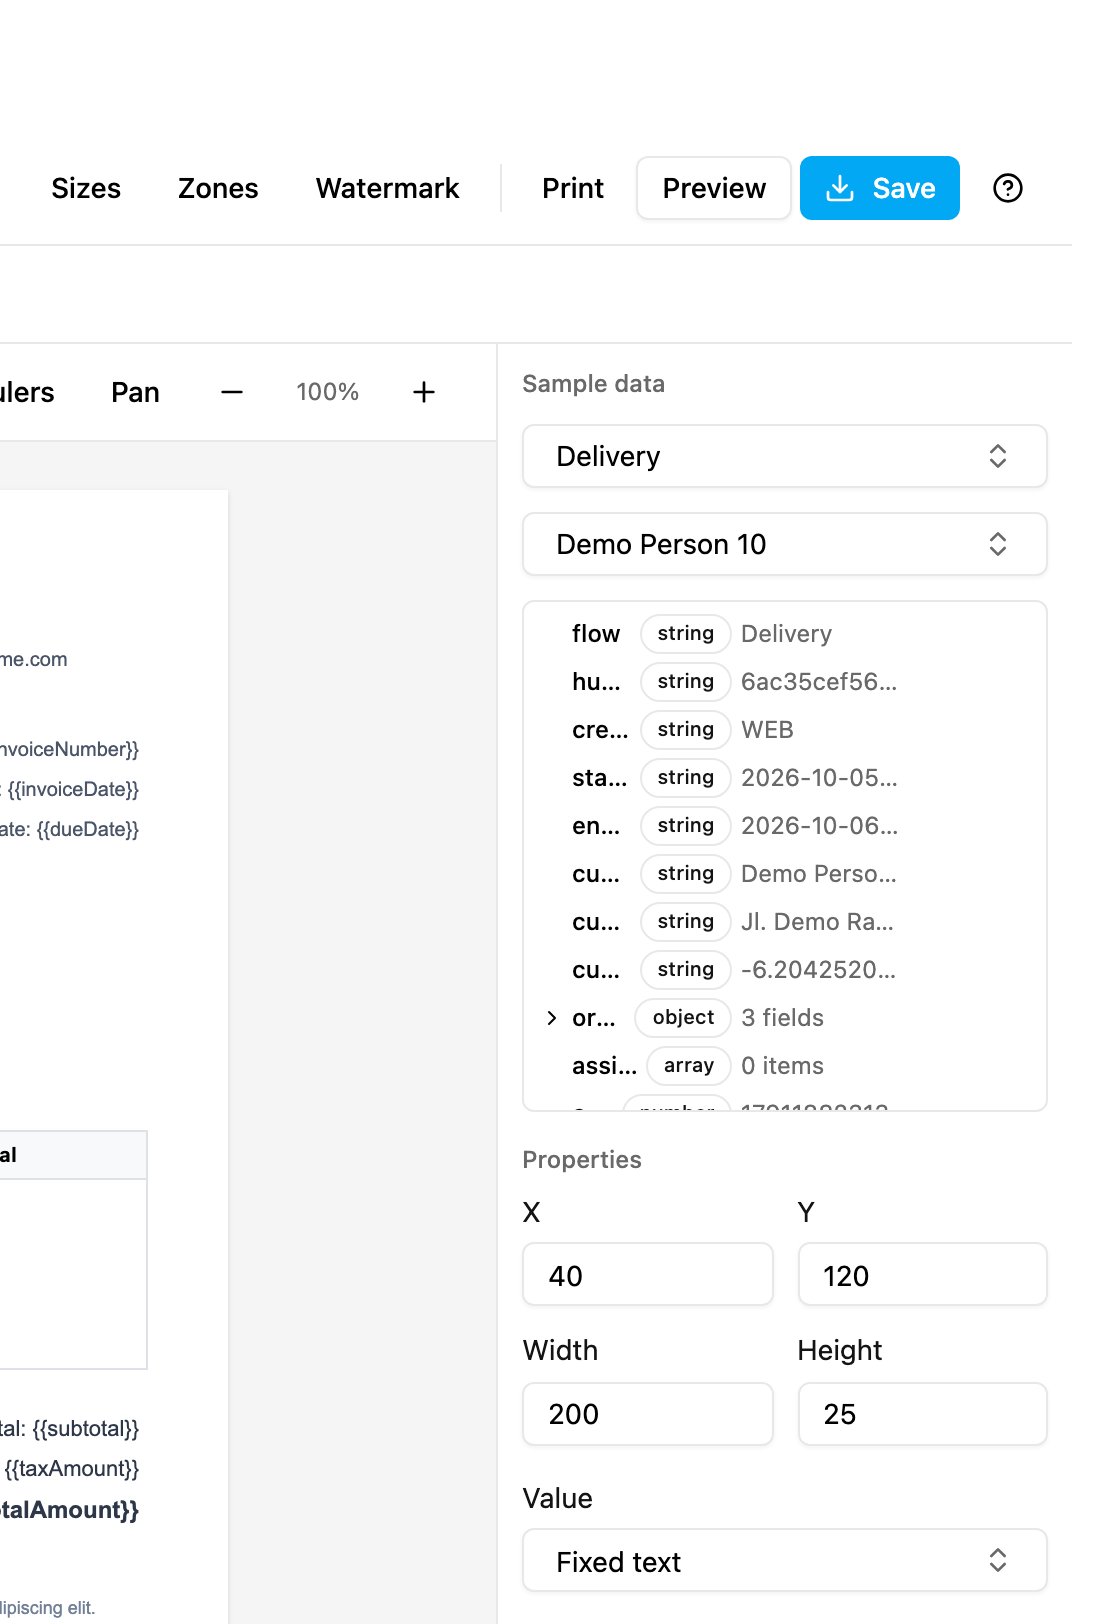
- Click an element to select it. Its settings appear under Properties on the right, starting with its position (X, Y) and size (Width, Height).
- Drag an element to move it, or drag its handles to resize it.
- Use the arrow keys to move it by one, or Shift and an arrow key to move it by ten.
- Hold Ctrl (Cmd on a Mac) and click to select several elements.
- Press Tab to step through the elements on the page.
Binding to task data
- Under Sample data, pick a flow and a task.
- Select an element and set Value to Task field.
- Pick the field. The element shows that task’s value.
{{fieldName}} inside the Content to substitute a value in the middle of a sentence.
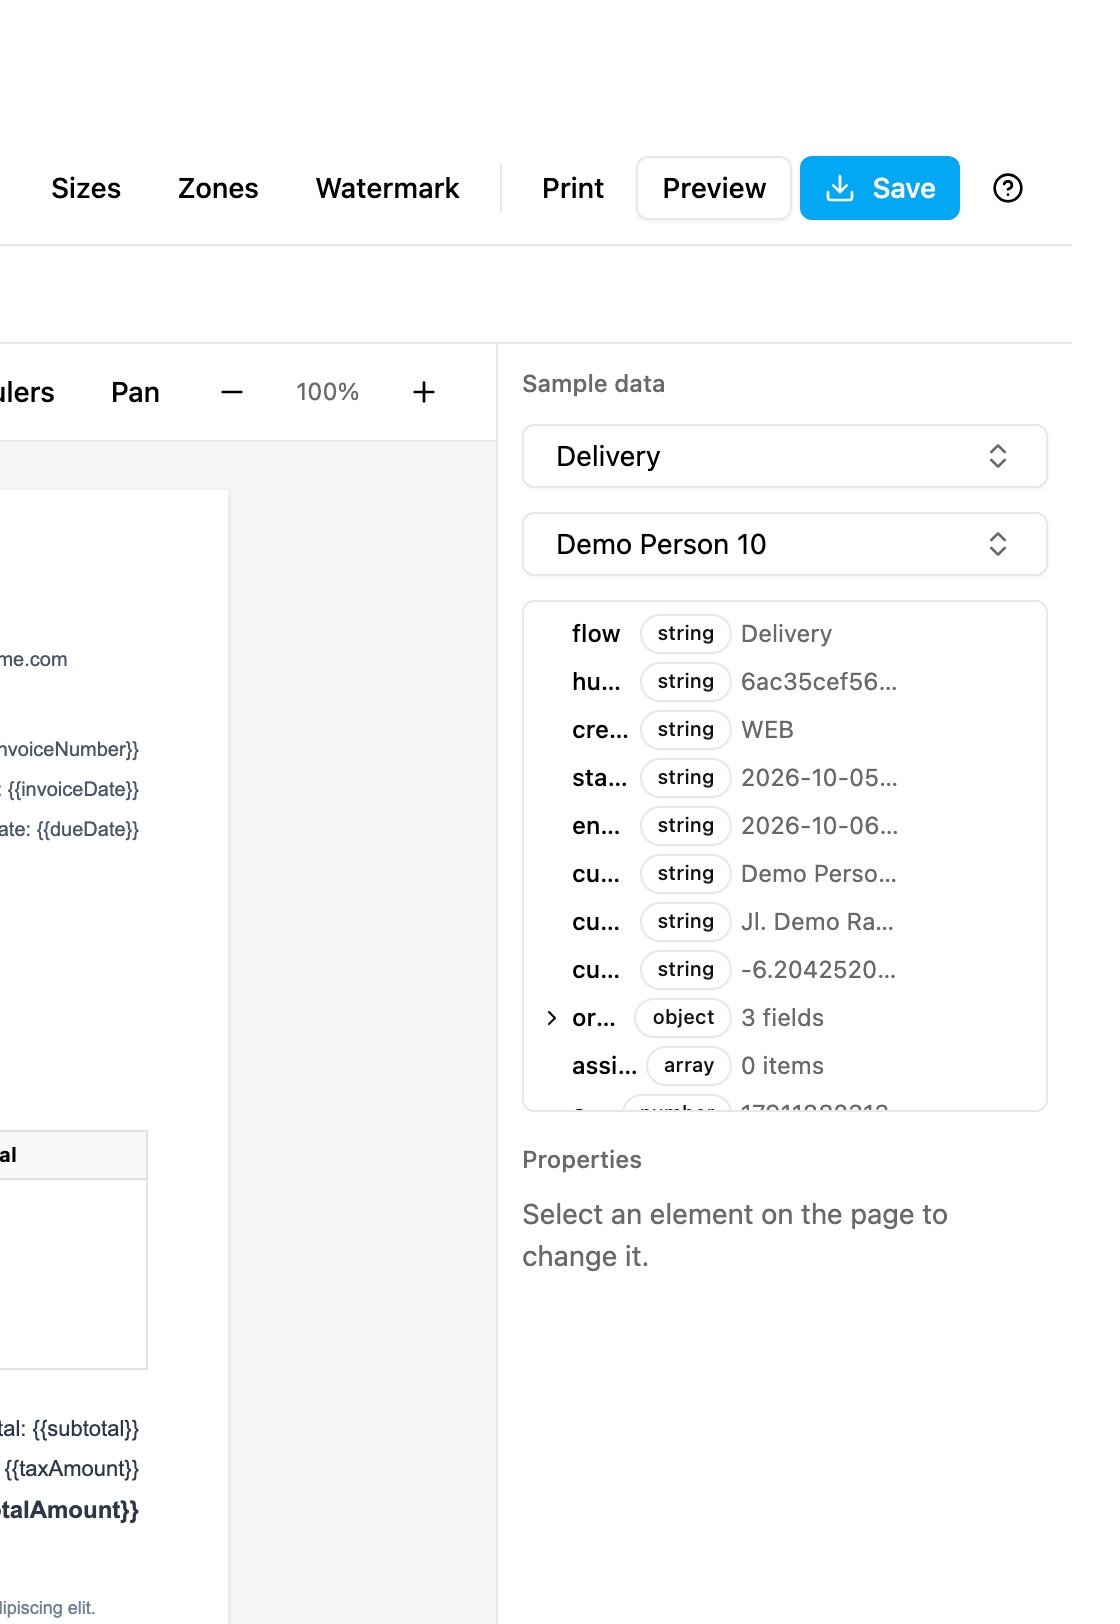
Load a sample task first: the field list and the table’s Quick list are empty until a task is picked.
Tables
Select a table to set where its rows come from.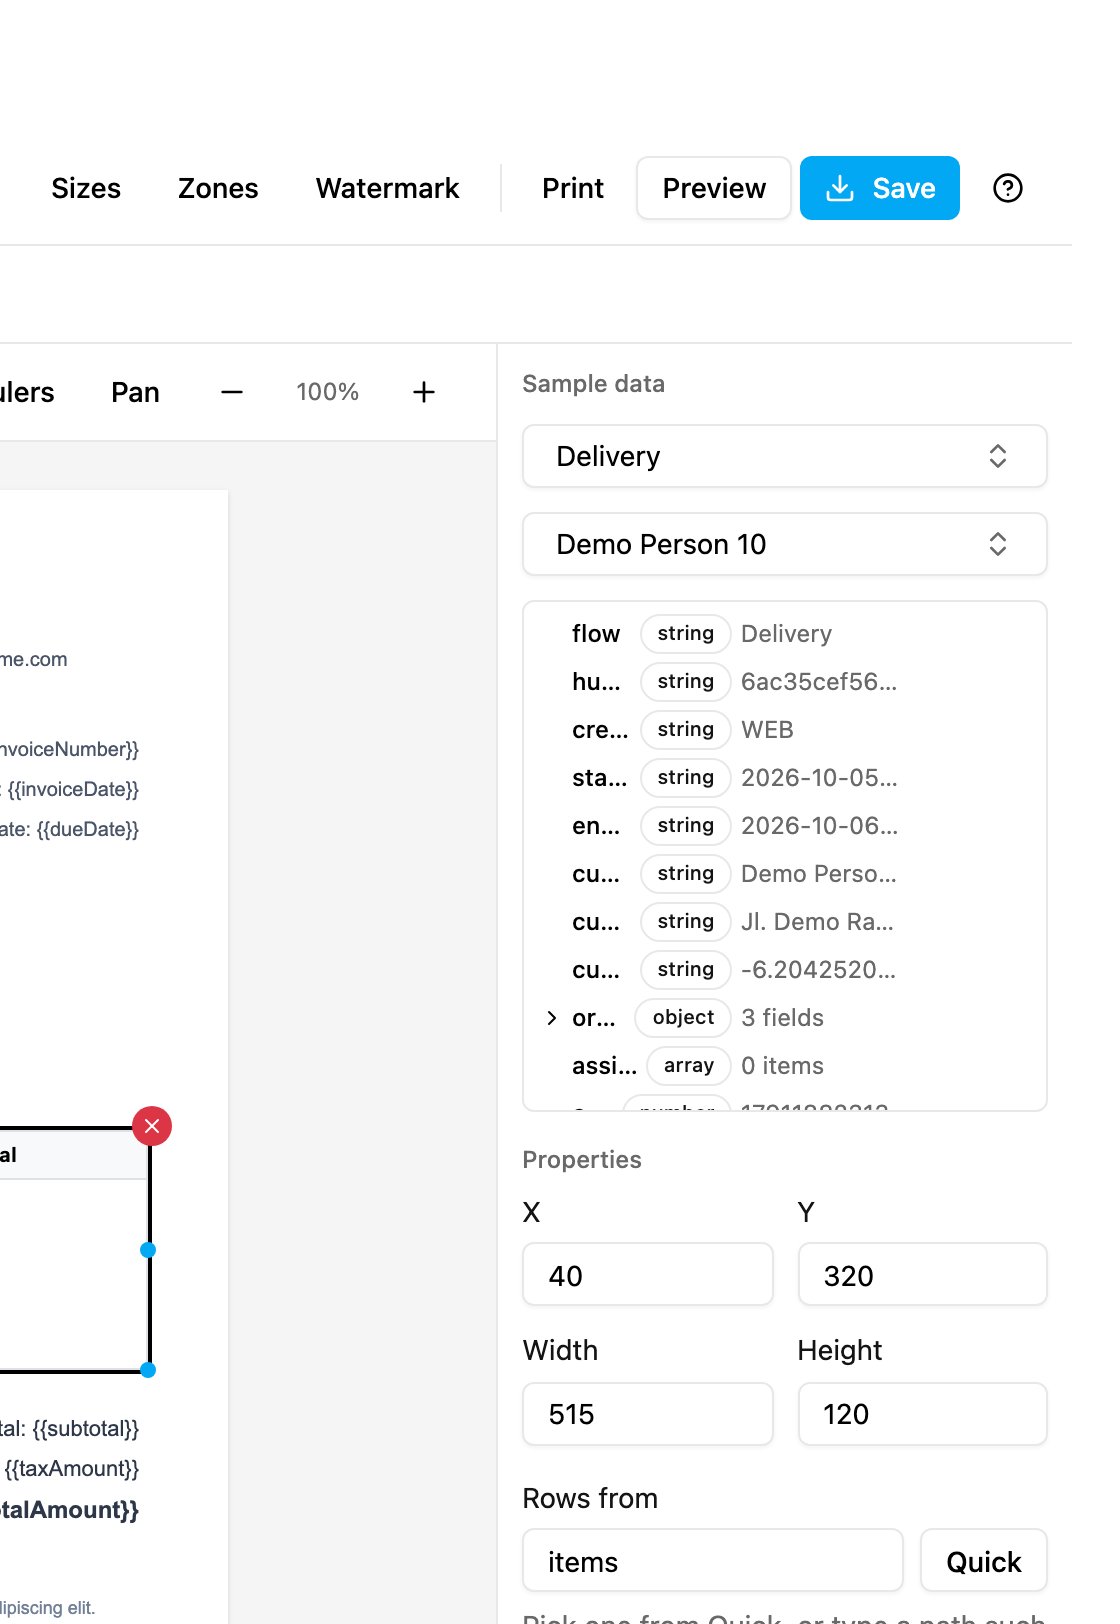
- Rows from: the path to a list in the task, such as
itemsorbillItem.items. Quick lists the lists found in the loaded task. - Columns: each with a Label and a Field key. Click Auto detect to create columns from the first row, Add column to add one, or remove one.
- Formatting per column: none, Currency, Number or Date.
- Header background, Show cell borders, Show header border and Shade alternate rows.
Multi-page templates
- Click Page next to the page tabs to add a page. Each page is labelled Page 1, Page 2 and so on, with a button to delete it.
- Elements belong to the page they are placed on. Ctrl+A selects everything on the current page only.
- Deleting a page also deletes the elements on it.
Header and footer
Click Zones.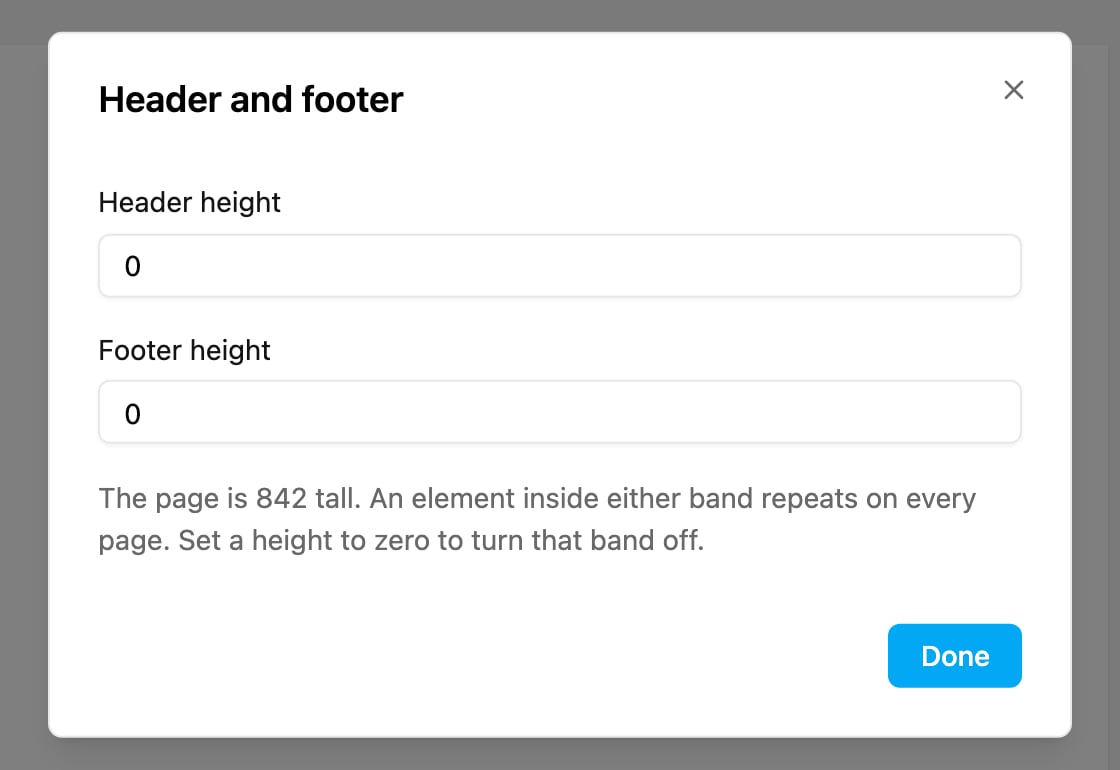
{{pageNumber}} and {{totalPages}} in a text element to print “Page 1 of 3”. They stay as typed on the Builder page and are filled in on every page of the PDF.
Watermark
Click Watermark.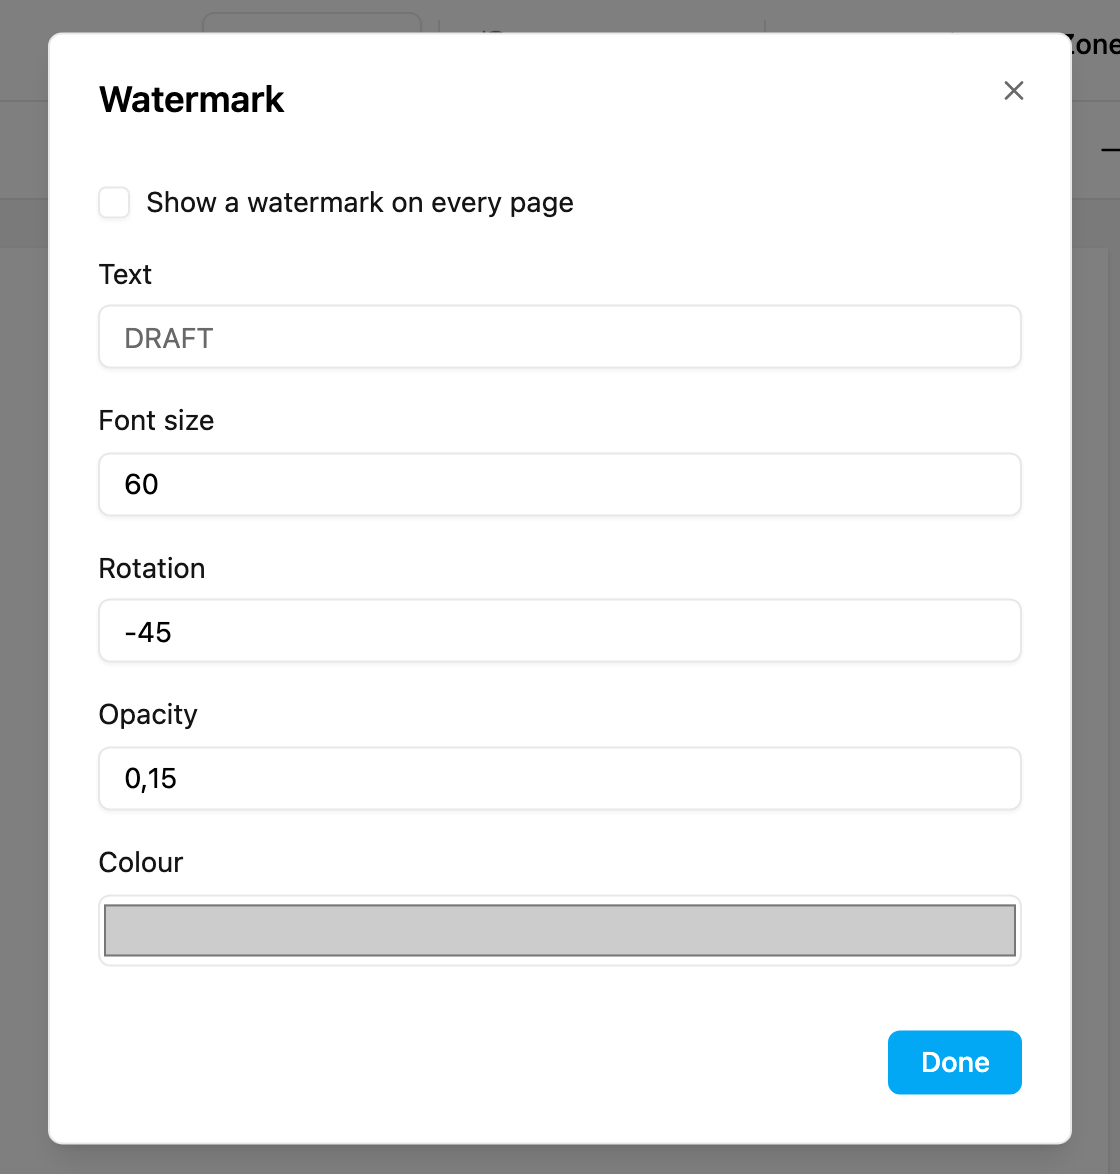
Conditional visibility
Select an element and, under Visibility, choose Conditional instead of Always visible.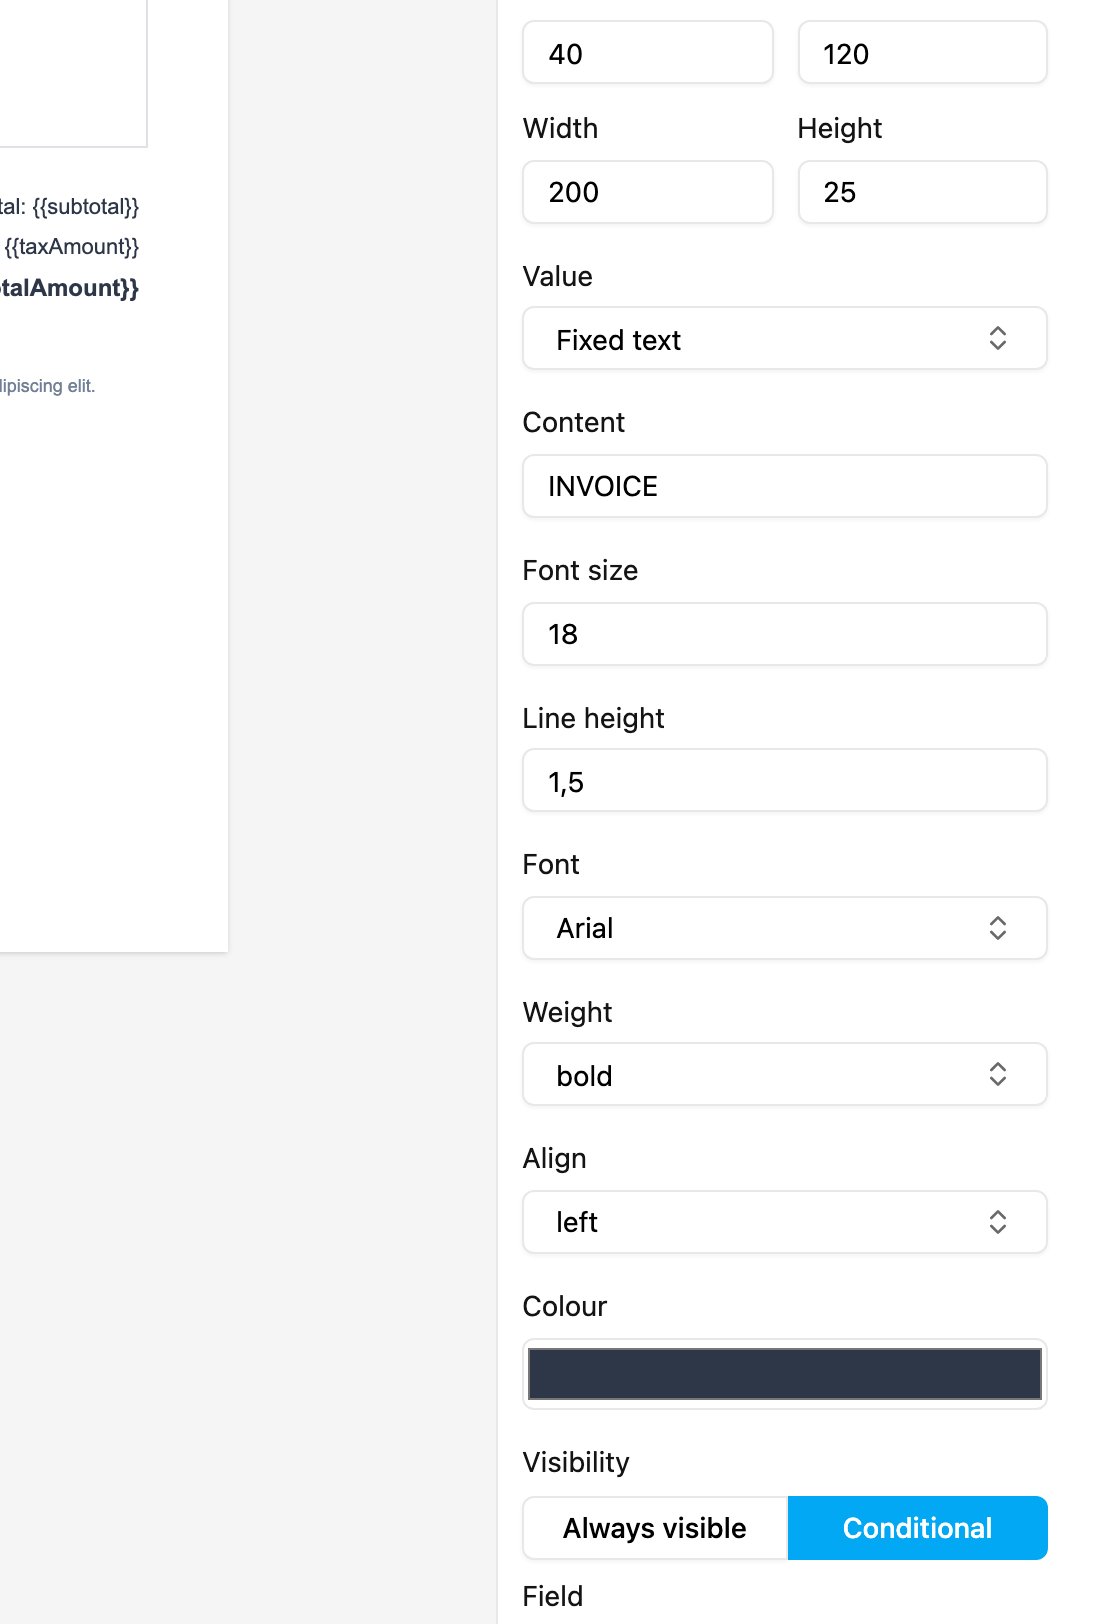
When the condition is not met for the sample task, the element is dimmed on the page so you can still select it. In the preview and the PDF it is left out.
Grid, snap and alignment
- Grid (Ctrl+G) shows grid dots; Snap lines elements up with the grid.
- Rulers shows measurements; Pan lets you drag the page around.
- Ctrl+Shift+H and Ctrl+Shift+V align the selected elements horizontally or vertically.
Keyboard shortcuts
Click ? to see them.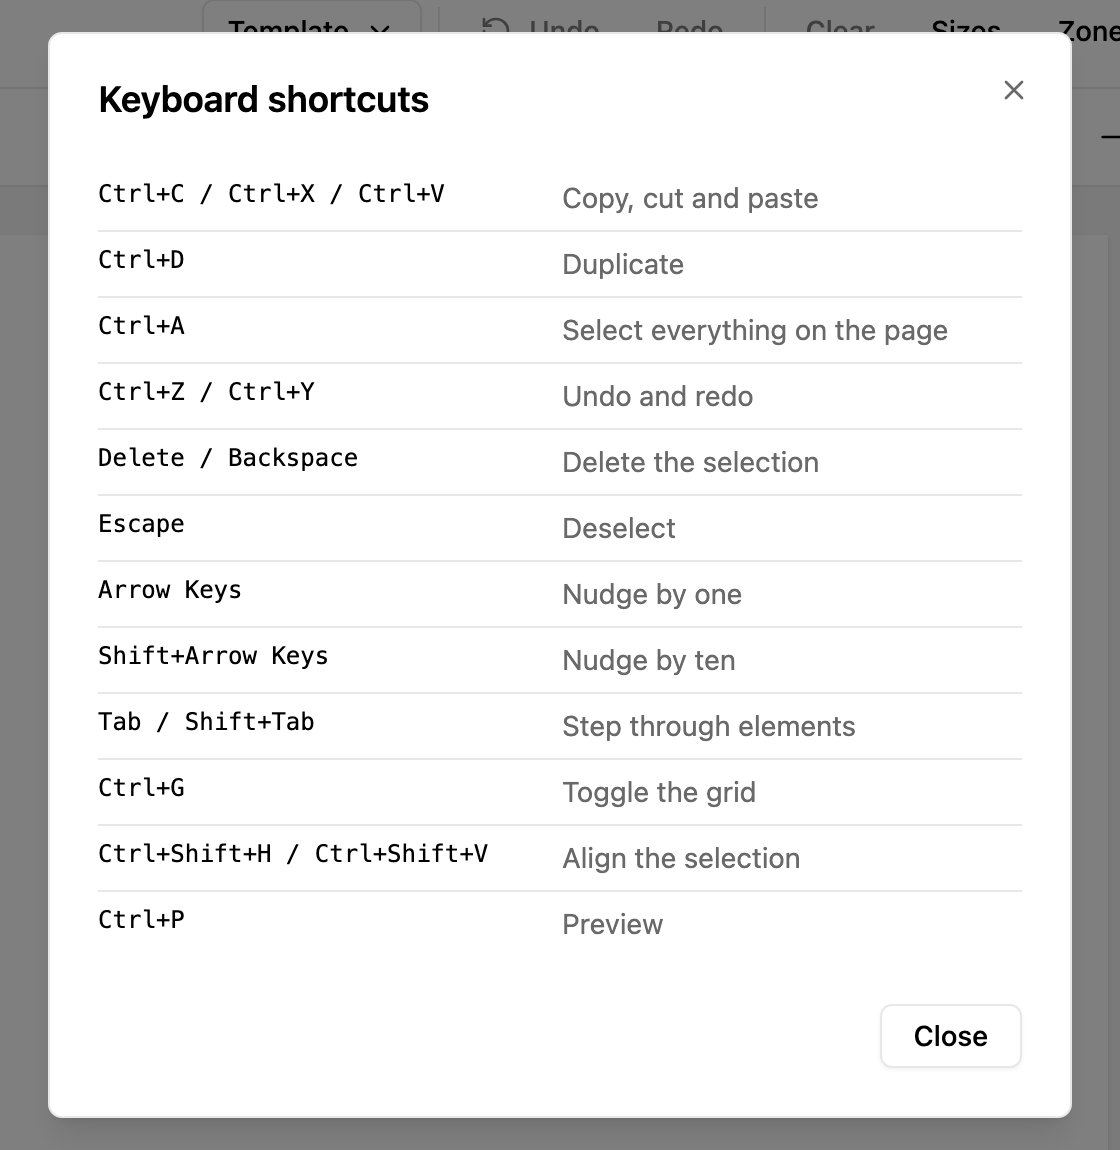
On a Mac, use Cmd instead of Ctrl.
Saving templates
Click Save, give the template a Name and an optional Description, and click Save. To keep the original and save your changes as a copy, choose Template › Save as new.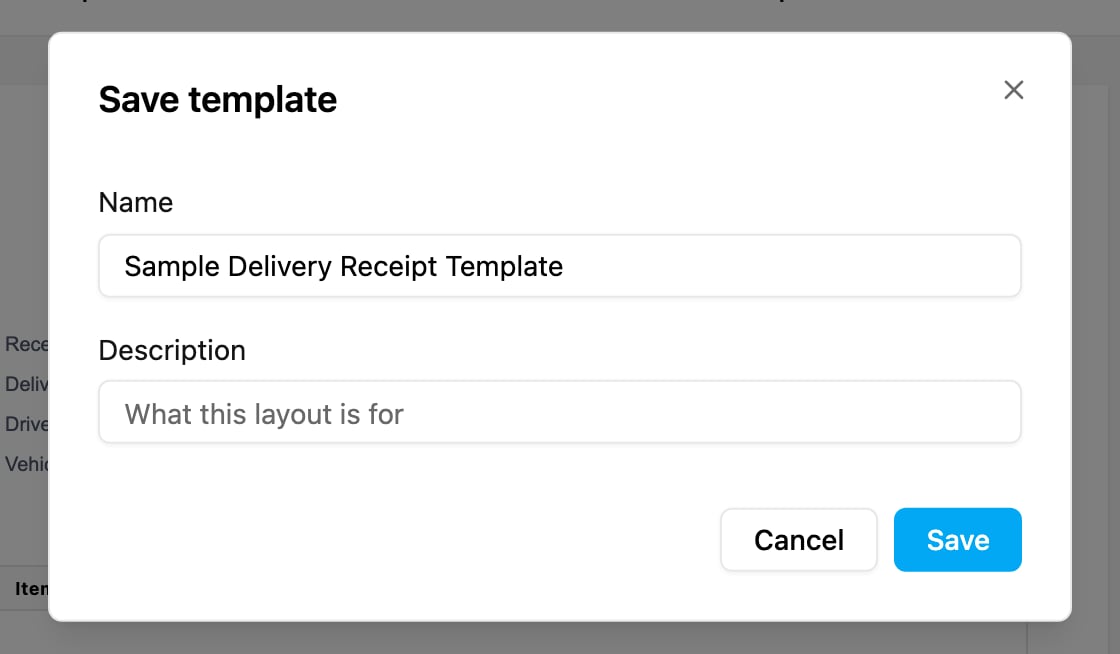
Template library
Choose Template › Library.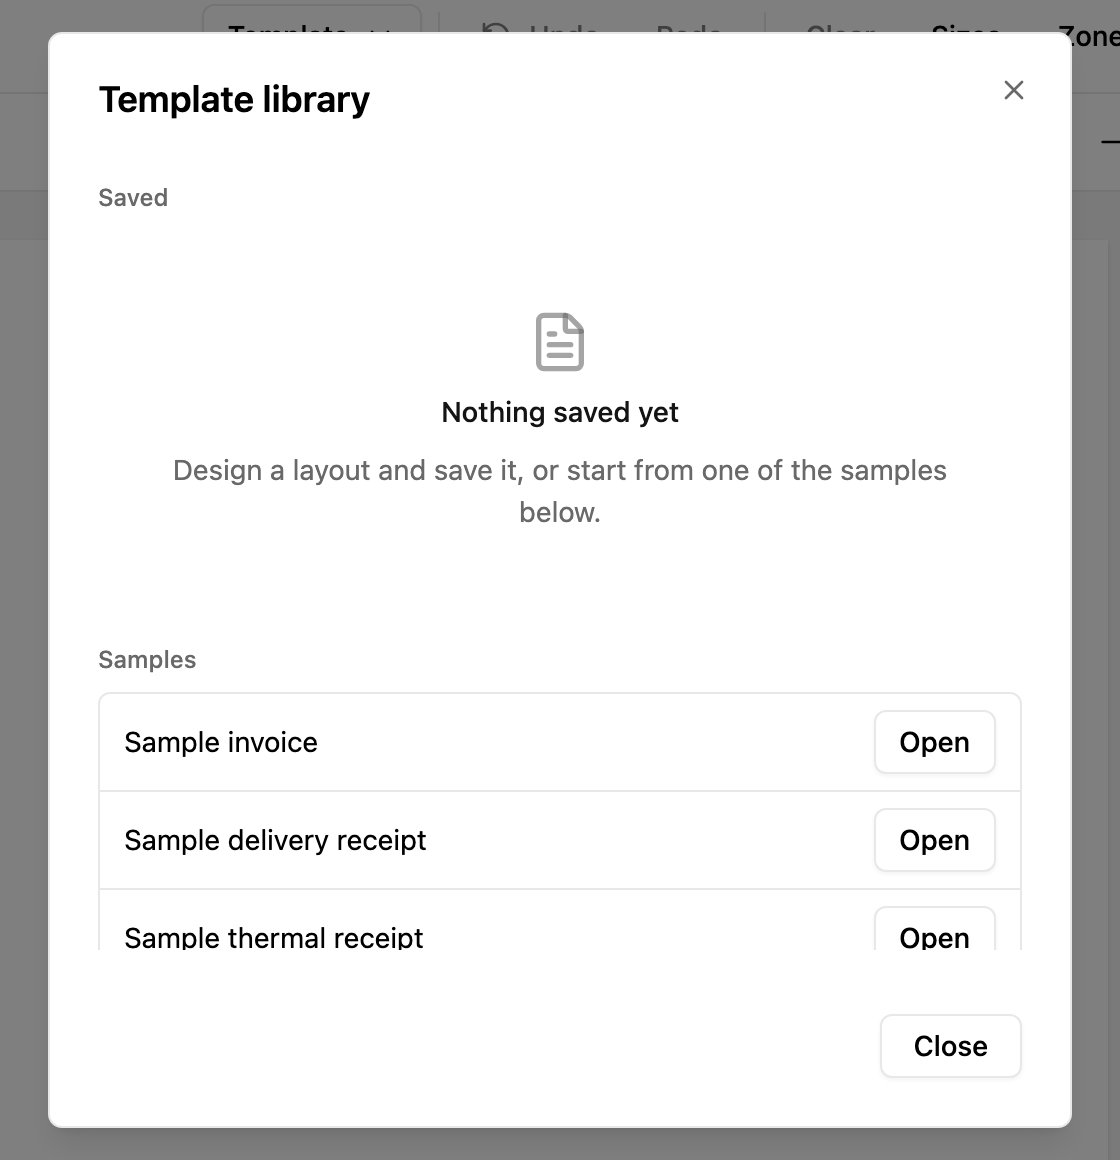
- Saved: your templates, with when each was saved. Open one to load it, or delete it.
- Samples: ready-made layouts to start from: Sample invoice, Sample delivery receipt and Sample thermal receipt (80 mm).
Export and import
- Template › Export downloads the current template as a
.jsonfile, with its elements, pages, page size, watermark and header/footer bands. - Template › Import loads a template from such a file, for example to copy it to another organization.
Page size and orientation
Pick the Page size and Orientation (portrait or landscape) at the top of the Builder.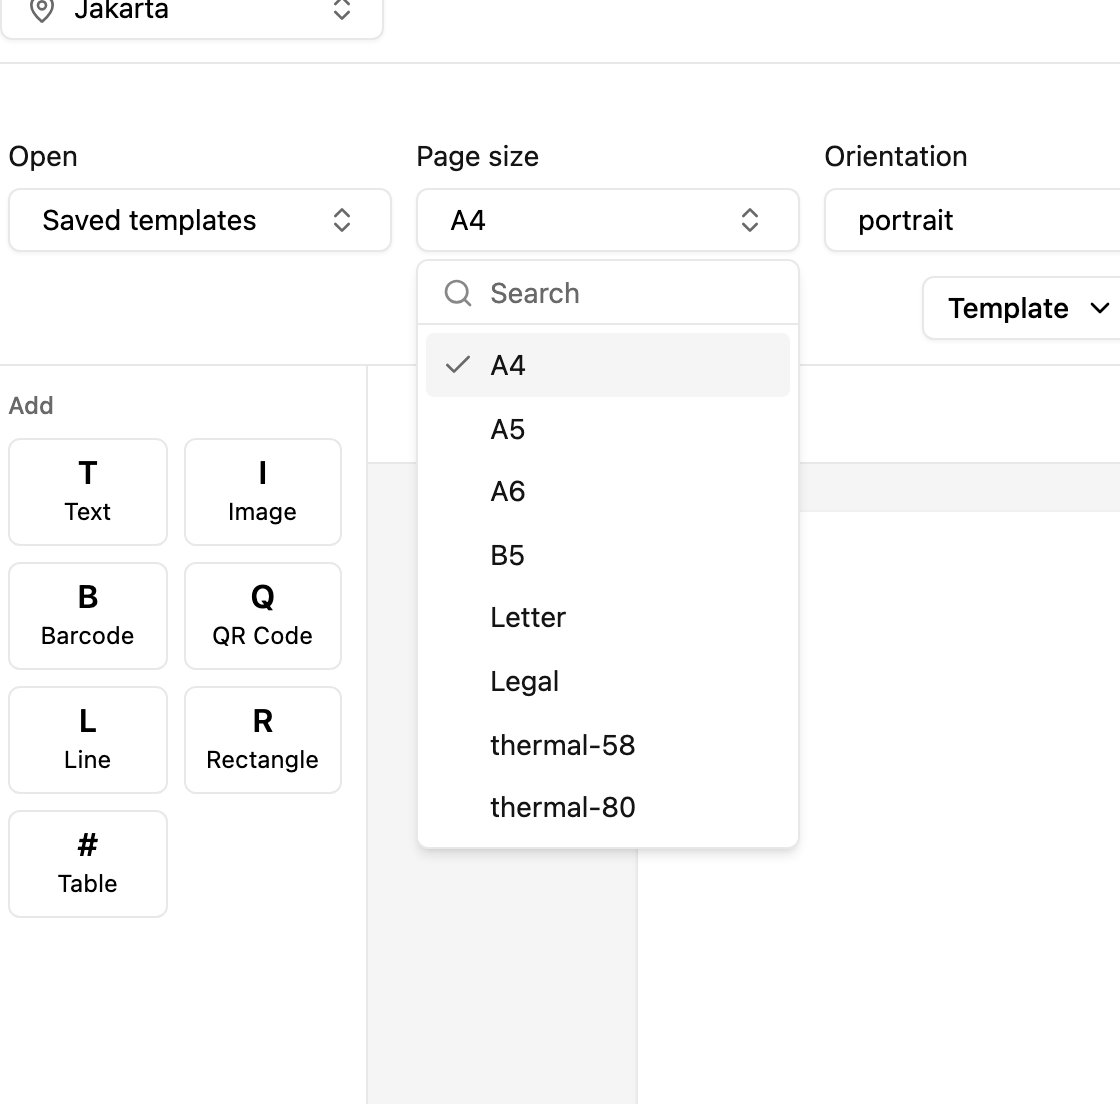
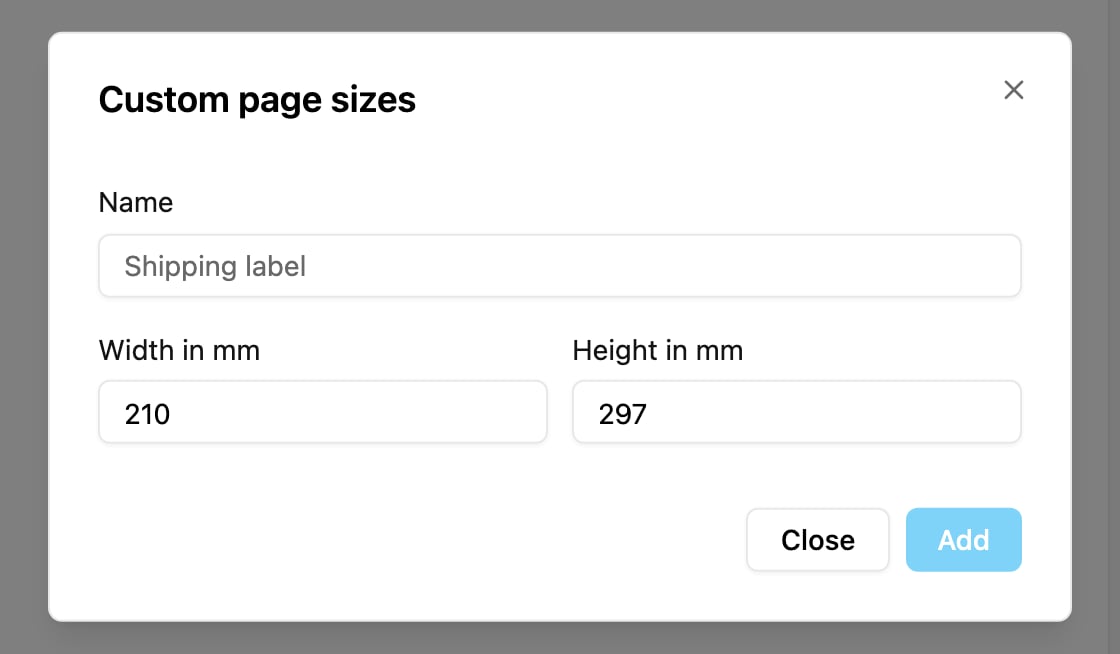
Click Sizes to add your own size, with a Name and a Width and Height in millimetres. Custom sizes can be edited and deleted, and appear in the page size list.