

Required permission:
- View data source
- Create data and Edit data source
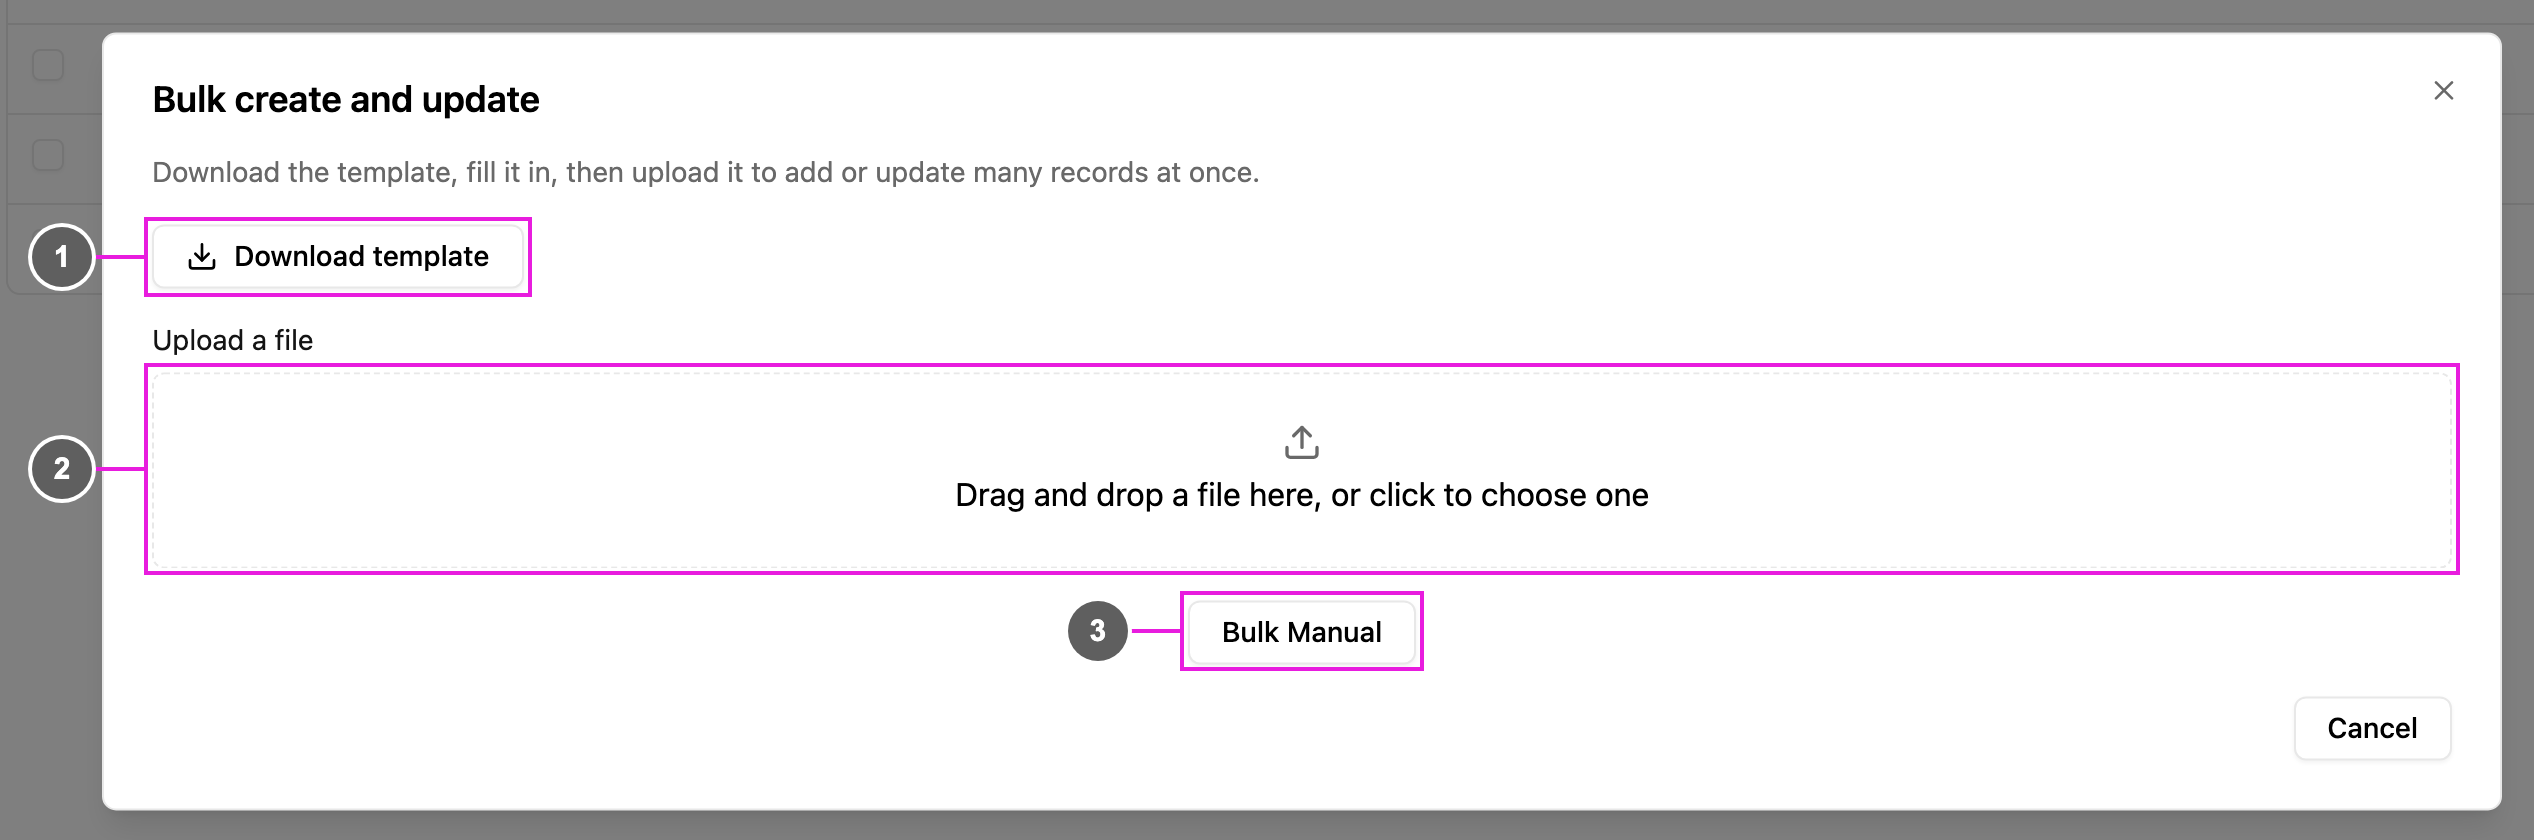
- Download template: a spreadsheet with one column for each field of the data type, plus Hub for data types limited by hub and Limit Data by User for data types limited by user.
- Upload a file: drag the filled-in file here, or click to choose it.
- Bulk Manual: type the records into a table instead of uploading a file.
Upload a file
- Click Download template and fill in one record per row.
- Hub: hub names, separated by commas.
- Limit Data by User: user emails, separated by commas. Leave it empty for everyone.
- Checkbox:
TRUE,FALSE,1,0,yesorno. - Coordinate: latitude and longitude, such as
-6.2,106.8. - Relation: the Title of the linked record.
- Drop the file on Upload a file. CSV, XLS and XLSX files up to 5 MB are accepted. A file with no data rows, or with a blank column header, is refused with a message saying why.
- Match each column of your file to a field. Columns with the same name as a field are matched for you. Every required field needs a column. Click Next.
- The rows open in a table. Invalid cells are highlighted, and a banner says how many invalid rows were found; use the arrows on the banner to jump between them. Fix the cells in place, or remove a row with its bin.
- Click Import. A summary shows how many records were Imported and how many Failed, with the reason for each failed row. Click Done.
Files with more than 2,000 rows
A file with more than 2,000 rows can’t be checked row by row in the dialog. The web app asks Process in the background?; click Process in background. The rows are then checked and imported on the server. The dialog shows the progress, and you can close it while the import keeps running. Follow it in Import.Type the records in
Click Bulk Manual.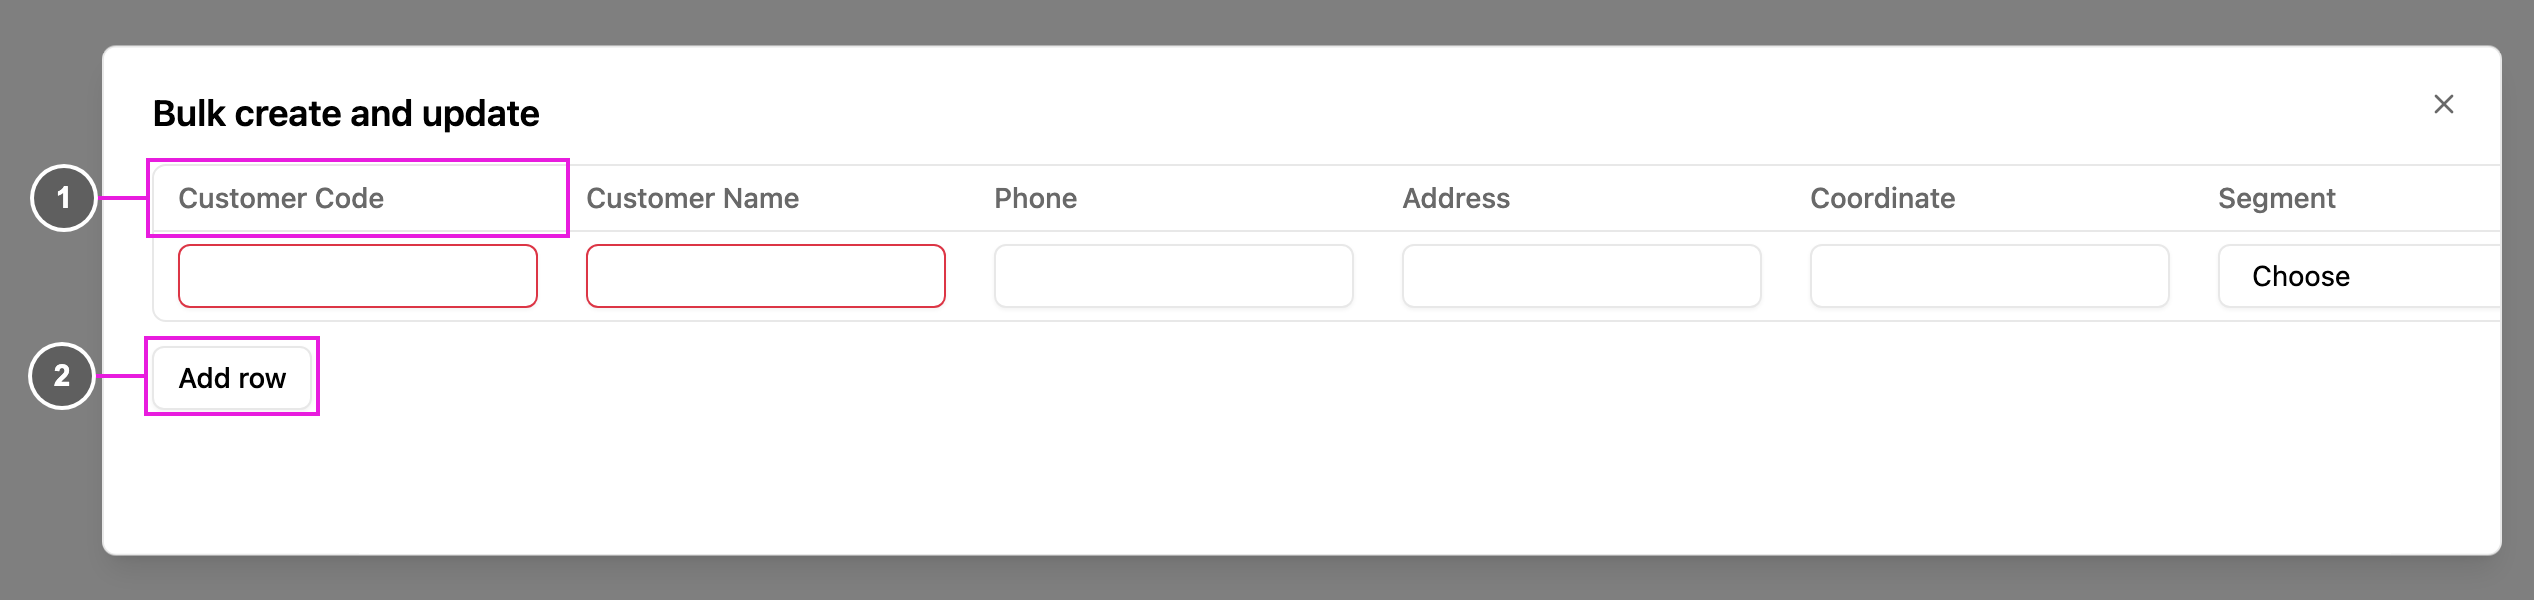
- One column for each field. Required fields are outlined.
- Add row: add another record.