

Required permission:
- View data source
- Export Data Source
Export from Data Source
- Open Workflow › Data Source and pick the data type.
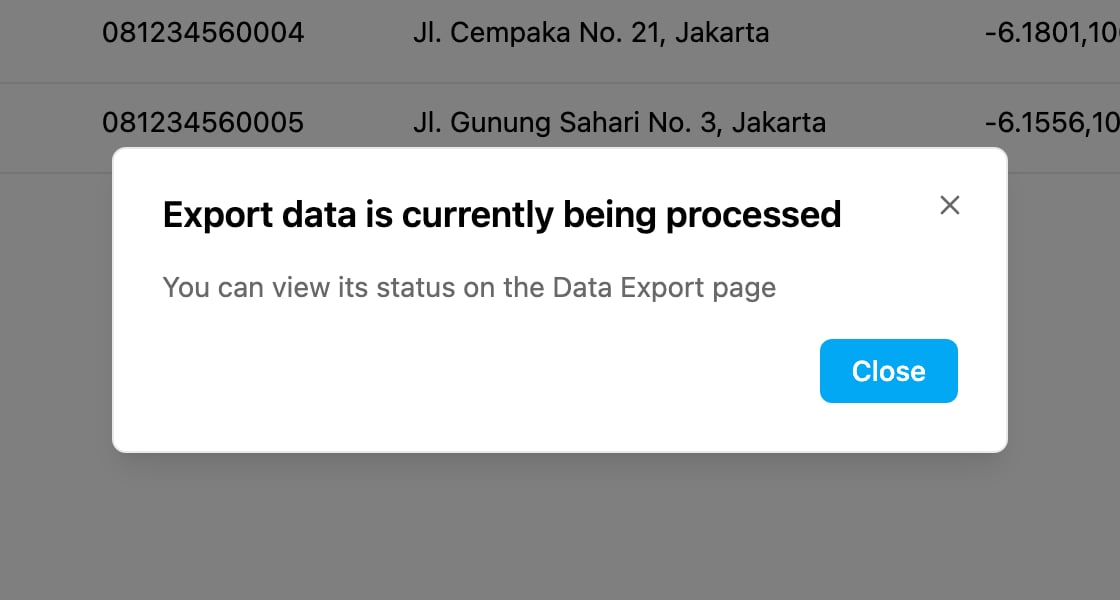
- Click Export.
What the file contains
- Columns: the fields marked Show on table on the data type, the same columns you see in the list.
- Records: every record of the data type, whatever is typed in the search box. For a data type limited by hub, only the records of the hub you are working in are included.
- Format: an Excel (XLSX) file.
Export is greyed out when you don’t have the Export Data Source permission, when no data type is selected, or while the data type is being prepared after an import from V3.