

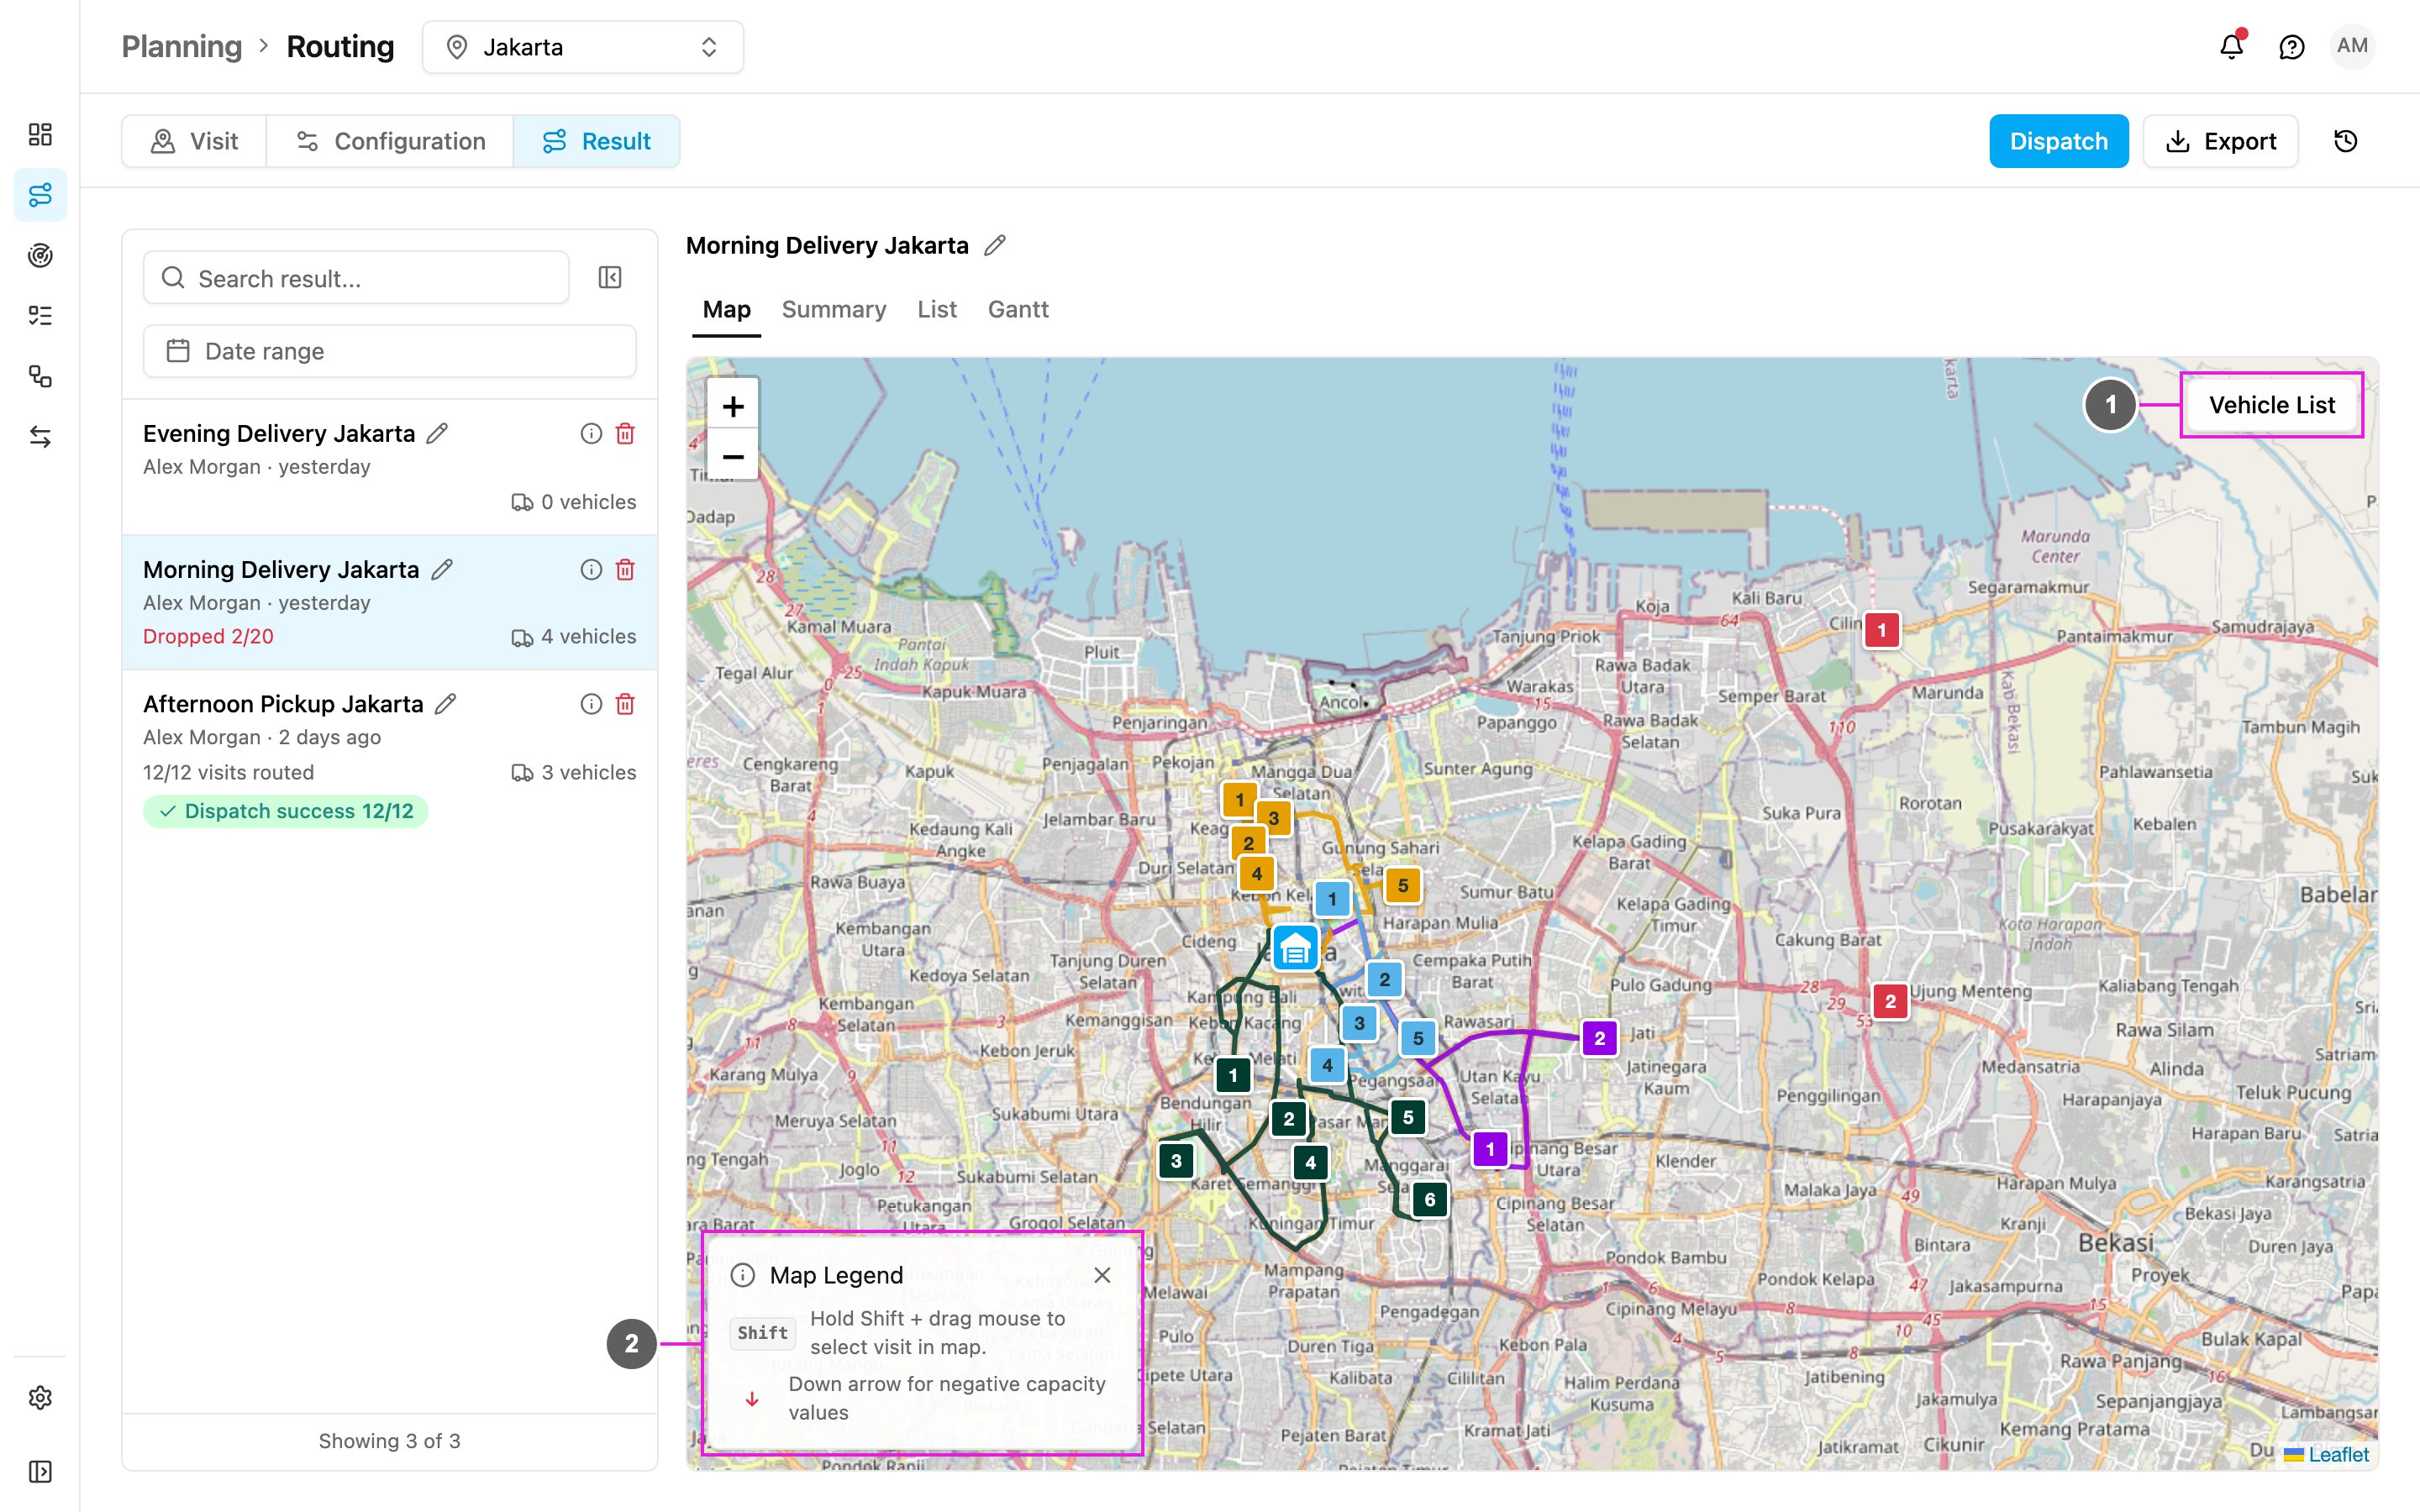
Required permission:
- View vehicle, View configuration (Configuration)
- Route optimization (Optimize)
- View result, Edit result, Dispatch result (Result)
How it works
1
Prepare the visits
Create tasks of a task type whose route configuration is set. Each Unassigned or Ongoing task becomes a visit. See How to Use.
2
Set up the vehicles
In Configuration, add your vehicles with their working hours, speed, cost and capacity, and choose which ones to use.
3
Optimize
In Visit, check the visits and click Optimize. The optimization runs in the background.
4
Review and dispatch
In Result, look at the routes, move visits between vehicles if you need to, then dispatch. Each planned visit becomes a task assigned to the vehicle’s driver.
Parameters
Parameters are the inputs the optimization uses to find the best result. You set them on the visit, on the vehicle or in the configuration. Each one is either:- a hard constraint: the result never breaks it, or
- a soft constraint: the result may break it when there is no fully feasible solution.
Time window
The time window says when a visit can and should be served, usually so a delivery or pickup happens before the place closes. It sets clear expectations and reduces uncertainty. Example: a store opens at 8 AM and closes at 5 PM. Set the visit’s open time to 08:00 – 17:00 and the visit is only planned in that range. Set it in Open Time on the Visit page. A visit can have several windows.Visit time
How long the vehicle stays at the visit before leaving for the next one, often called unloading time. Set it in Duration on the Visit page. When a visit has none, the configuration’s Default Visit Time is used, plus any Dynamic Visit Time.Tag
Tags say which vehicle may serve a visit: a visit only goes to a vehicle that has all of its tags.- Road class: tag visits by the size of road that reaches them (
small,medium,big) and give vehicles the matching tags. - Dedicated vehicles: tag cash-on-delivery vehicles and visits
CODso they are matched together.
Capacity constraint
Capacity decides whether a vehicle can carry the orders. You can measure it in any unit: weight, volume, packs, boxes, frozen weight, chilled weight and so on.- Define the constraints and their units in Configuration › Speed & capacity.
- Set each vehicle’s minimum and maximum. The maximum is a hard rule; the minimum is soft.
- Set how much each visit needs. An empty value counts as 0.
Working time
The hours a vehicle may work. No visit is planned outside them, and with Return to Hub the drive back must fit too. A working time can span several days, to plan multi-day routes in one run. See Vehicle.Cost factor
A cost multiplier that sets which vehicles are used first. With vehicle A at1 and vehicle B at 10, using B counts as ten times more expensive. Give your own fleet a low cost (0) and vendor vehicles a higher one (10), and your own fleet is used first. See Vehicle.
Auto speed
With Auto Speed, each vehicle’s speed is estimated from historical trips in the area. With Manual Speed, you set the speed in km/h, per vehicle or as a default, for example to assume slower traffic than usual. Set it in Configuration › Speed & capacity.When Auto Speed is on, the vehicles’ Speed field is locked.